Techniques for growing hydroponic vegetables
Some main information / features of the process / technology: Applying simple, cheap, suitable for small-scale production in Vietnam, contributing to providing clean food at home.
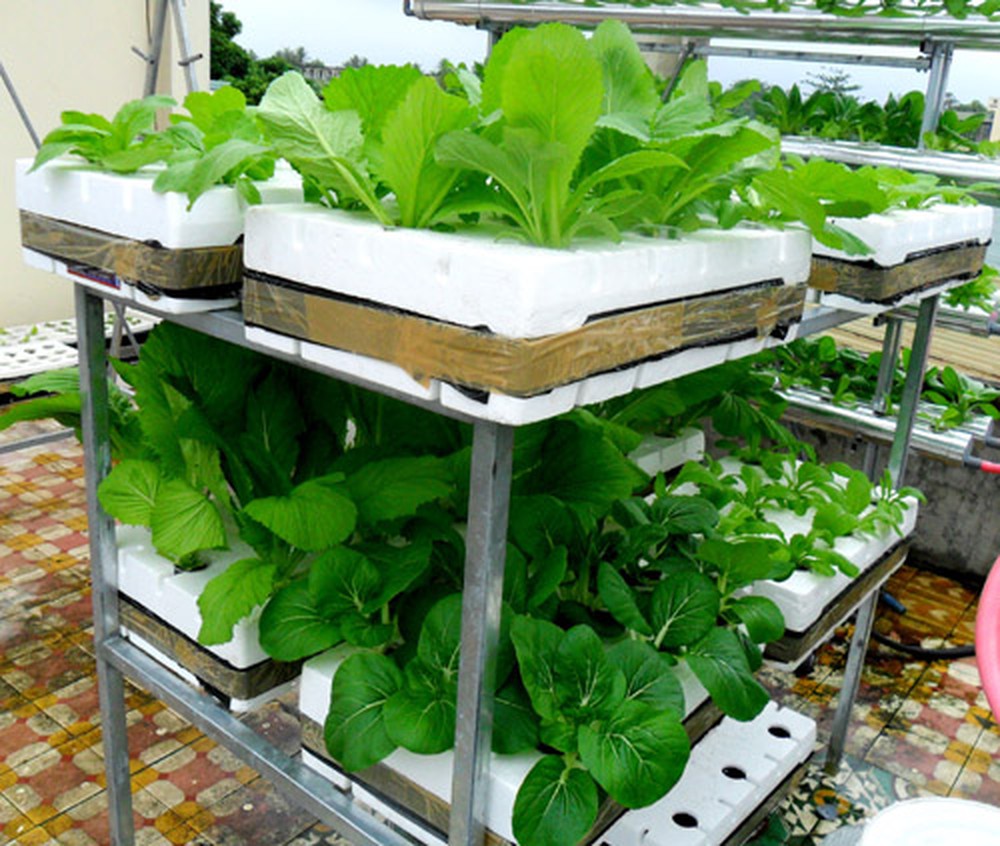
Hydroponics means planting plants in solution without soil. Previously, this method was quite complicated, costly and often only those with experience and knowledge could do it. Now we would like to introduce a clean vegetable hydroponic process with a simple (non-reflux) hydroponic system that is easy, inexpensive and convenient to apply to all families to grow clean vegetables. This method can take advantage of gaps in the porch, terrace, where light is illuminated.
Step 1. Prepare the tool
– Prepare foam containers: Buy foam boxes or can use semi-fruit foam boxes, these foam boxes have a width of about 40 cm, a length of 50 cm. Cut foam boxes so that the remaining height is about 20 cm. Each such foam container will contain about 25 liters of solution. However for most vegetables, only 20 L of solution should be used to ensure that a part of the root is not submerged in the solution. This helps the roots of the plant stay on the solution with good oxygen to supply the plants. This method will help minimize aeration of the solution daily. Styrofoam is wrapped in black nylon on the inside to help prevent the solution from being leaked to the outside while ensuring a dark environment for plant roots to grow well in the solution and limit the development of moss.
– Prepare foam container lid: Foam box lid is punched evenly, depending on the type of tree to be able to punch big or small, thin or thick. For example, for water spinach, with the size of such a container, we can punch 15 holes (big hole diameter about 4 cm to ensure it fits into a plastic cup or plastic basket intended to be included). For some crops such as lettuce, small holes (1.5 cm diameter) can be cut and plants can be directly transferred to these holes without a cup or plastic basket. In this case, it is possible to grow 12-15 trees / foam box and can use cotton or foam to fix the tree.
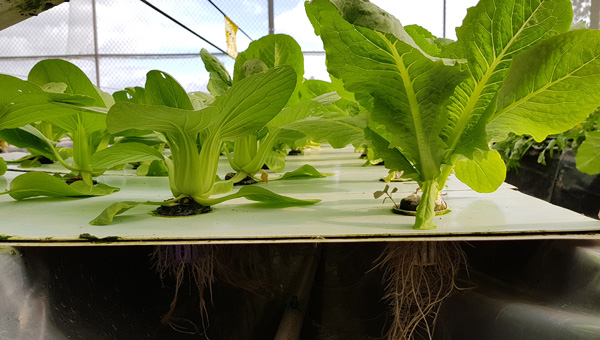
– Prepare a plastic cup or plastic basket: In case of using plastic cups / gabies, it is advisable to find the best plastic / plastic cups that are dark or opaque to avoid the light that can penetrate and help create a dark environment for the plant’s roots. grow well and avoid moss growing inside. Punch the holes around the plastic cup so that the roots can pierce through the holes into the solution. These plastic cups and pots together with the stand have the role of standing upright.
Preparation of substrate: The substrate can be coconut fiber, boiled straw, husk husk, corn stubble…. . You can buy coconut fiber at www.vinascg.com. Can combine straw and rice husk. Black husk husk is coated on the surface of the cup to help ensure light shading for good root development.
Note: Boiled straw is the cheapest and most available one, however, when using rice straw, it is necessary to carefully boil it (boil, change water 4-5 times) and then soak in water for 7-10 days (often changing water) so that straw does not turn yellow.
Step 2. Prepare seedlings
The seedlings are sown into the gourd tray (each tray has about 130 -200 small pots depending on the type). The substrate for nursing seedlings can be soil mixed with rice husk according to the ratio of soil: rice husk is 8: 2. Be sure to use clean soil sources or treat soil with fungicides, especially for seedlings that are susceptible to fungi that cause small root damage. Hun rice husk should be washed through the water without causing root damage. Soak the cracked seeds and then sow them into the pots (1 to 2 seeds each, depending on the type of tree). So each tray can provide about 200 seedlings. When the seedling has not sprouted, it is necessary to place the trays in light light or cover the light directly on the germinating seedling. When seedlings germinate evenly about 2 cm, gradually bring seedlings to light. Use diluted nutrient solution to irrigate the seedlings daily (concentration of diluted solution is ½ of the concentration of the plant solution). When the seedlings are about 2 weeks old (depending on the type of tree, usually trees are about 8-10cm tall and have some real leaves), proceed to extract the seedlings to transfer into the solution.
Step 3. Prepare the solution
How to mix solution from mother’s solution A and B: Depending on the type of plant, it is possible to mix 2-3 ml of mother’s solution each into one liter of water, for example, to blend 100L of nutrient solution to plant trees, it needs 200 -300 mL of A solution mixed with 200-300 mL of B. solution
Step 4. Plant trees in solution
Transfer plants into solution: Seedlings after plucking from the potting tray, put them into plastic cups so that the roots easily penetrate out. Prices (straw, coconut, husk …) are used to fix the tree to help the tree stand upright. Fit these plastic cups into the holes of the foam container and place the lid on the foam containers with hydroponic solution.
Add nutrient solution: During the growth of the plant, the solution will be sucked in a foam container, so the solution will gradually fade, paying attention to adding regular nutrient solution to the tree (usually 1 time / week). ) to ensure adequate nutrition for plants.
Step 5. Harvest
For vegetables such as water spinach, vegetables, chrysanthemum, hyssop …, after 2-3 weeks, the first harvest can be harvested. Carry out cutting or pruning vegetables, then add the solution to vegetables to continue growing for later harvests. Usually each group harvests about 1 week apart.
1 thoughts on “Techniques for growing hydroponic vegetables”